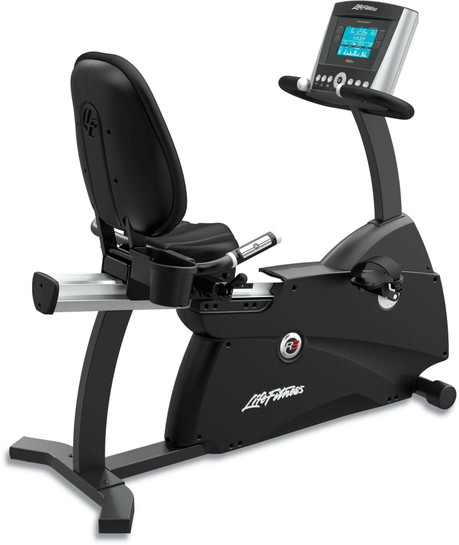
Replacing a recumbent bike belt may seem intimidating, but it is a relatively simple process. Here are the steps you need to follow:
Step 1: Gather your tools Before you begin, make sure you have the following tools:
- A wrench
- A screwdriver
- A new belt (make sure it is the correct size for your bike)
Step 2: Remove the covers First, you need to remove the covers that protect the belt and pulley. Use your screwdriver to unscrew the screws and gently remove the covers.
Step 3: Remove the old belt Use your wrench to loosen the tension on the old belt. Once the tension is released, carefully remove the old belt from the pulley and flywheel.
Step 4: Install the new belt Place the new belt on the pulley and flywheel, making sure it is properly aligned. Use your wrench to tighten the tension on the new belt.
Step 5: Replace the covers Once the new belt is in place, replace the covers and use your screwdriver to screw them back into place.
Tools you will need for replacing your recumbent bike belt
As mentioned earlier, you will need a wrench, screwdriver, and a new belt for your recumbent bike. It is important to make sure that you have the correct size belt for your bike. You may also want to have some lubricant on hand to help prolong the life of your new belt.


